
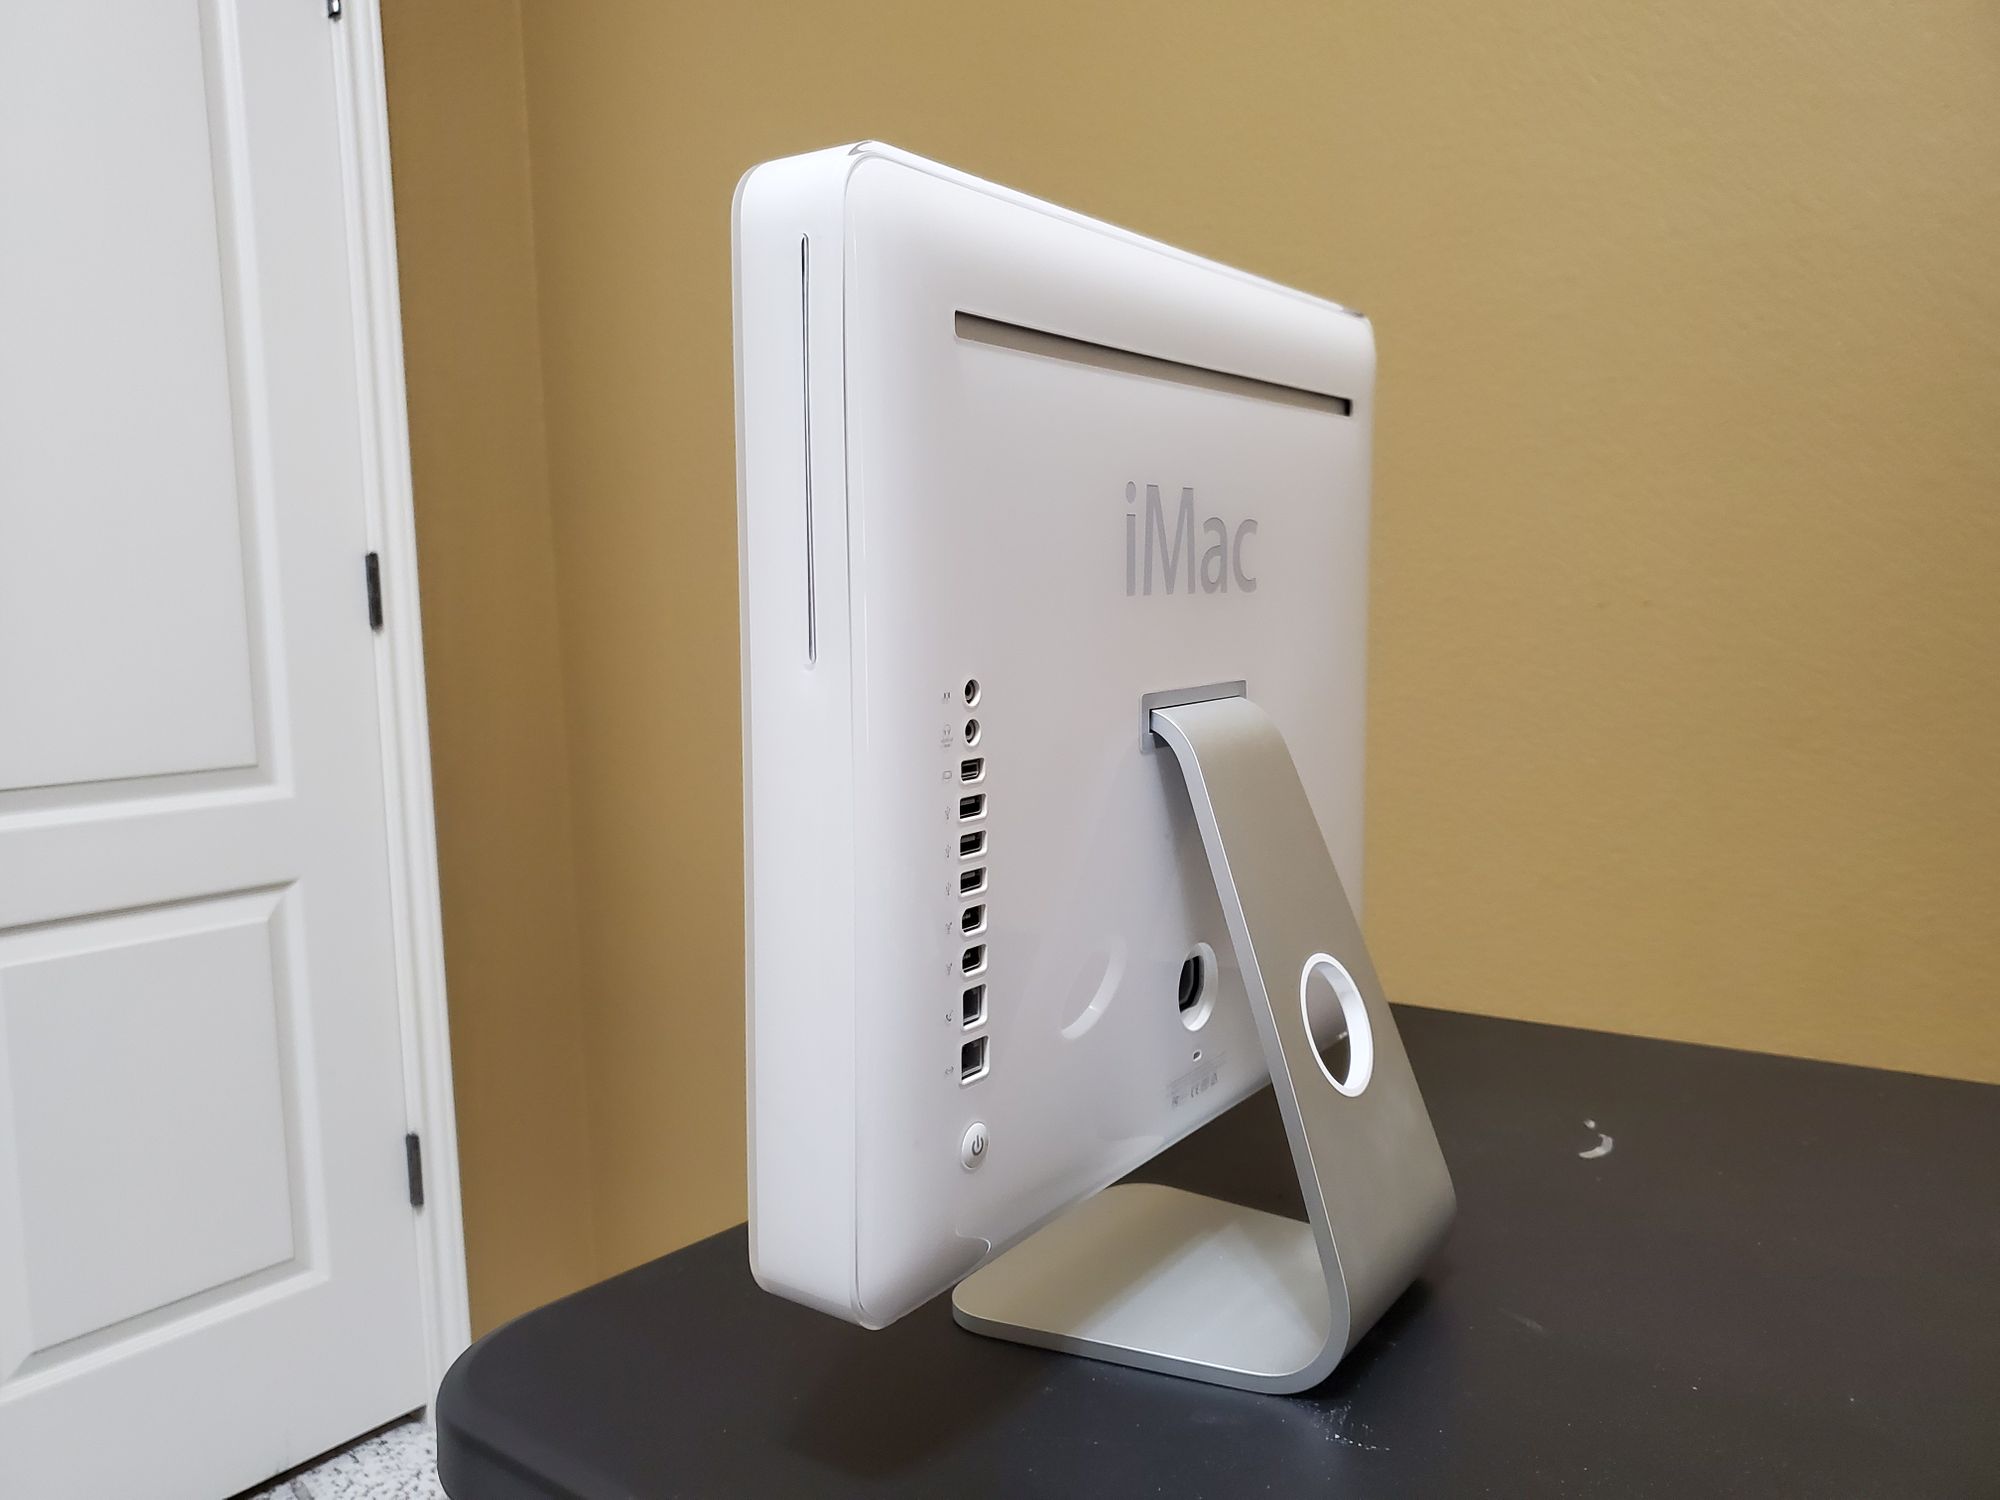
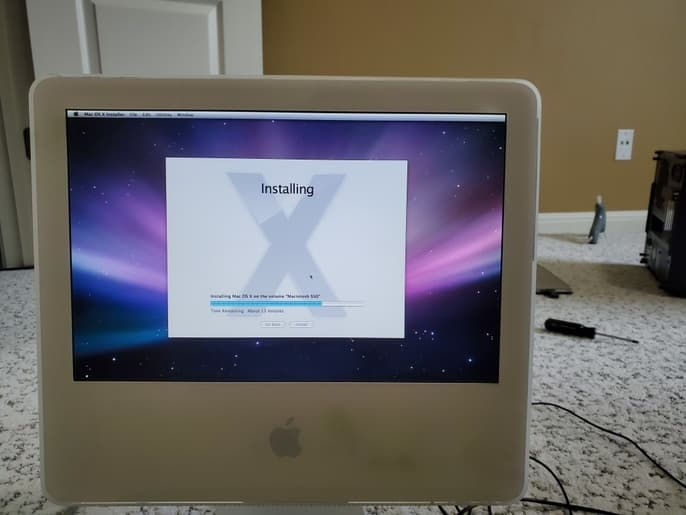
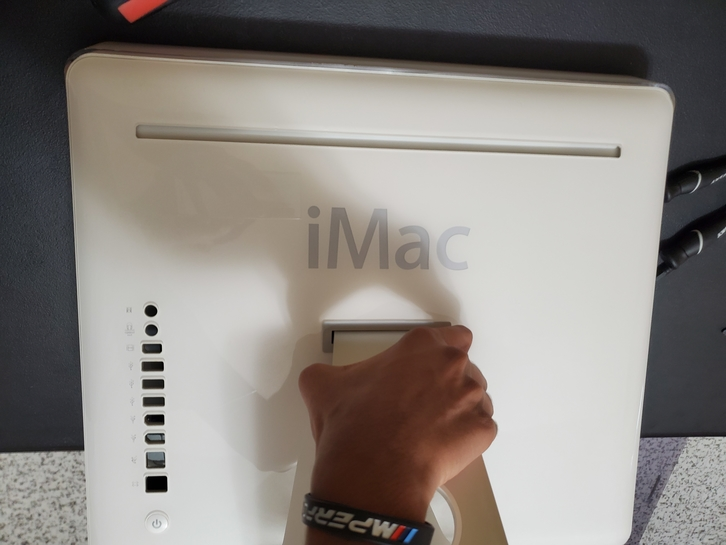
A few months back, I bought an iMac G5 from Goodwill for $16.50. It was listed as parts/repair with a flashing question mark on boot. When I received it, I found that there was no hard drive installed, so I installed a spare SSD I had. After a few days of fiddling with Open Firmware, I got it to boot from an OSX Leopard USB and I installed OSX 10.5 Leopard on the drive.
After installing Leopard and making sure everything worked, I cleaned up the dark spots on the plastic case using a toothbrush. Then, I installed a few programs so that it could be more useful today. After this, I was able to use the iMac to do many different tasks, but I quickly found out that it was running quite hot (70 to 75 degrees Celsius). Because of this, the fans would ramp up, making a lot of noise. During tasks that used a lot of CPU, the machine would almost become unusable. So, I decided to dust out the computer and replace the thermal paste. Below is a comprehensive guide to removing the logic board and replacing the CPU thermal paste. I hope you enjoy!
Disassembly
- Begin by shutting down the iMac and removing the power cable & peripherals
2. Then flip the iMac over and carefully set it down on its screen
3. Unscrew the three bottom screws until they no longer turn. They won't come out all the way, but you should unscrew them as much as you can.
4. Fully remove the back cover
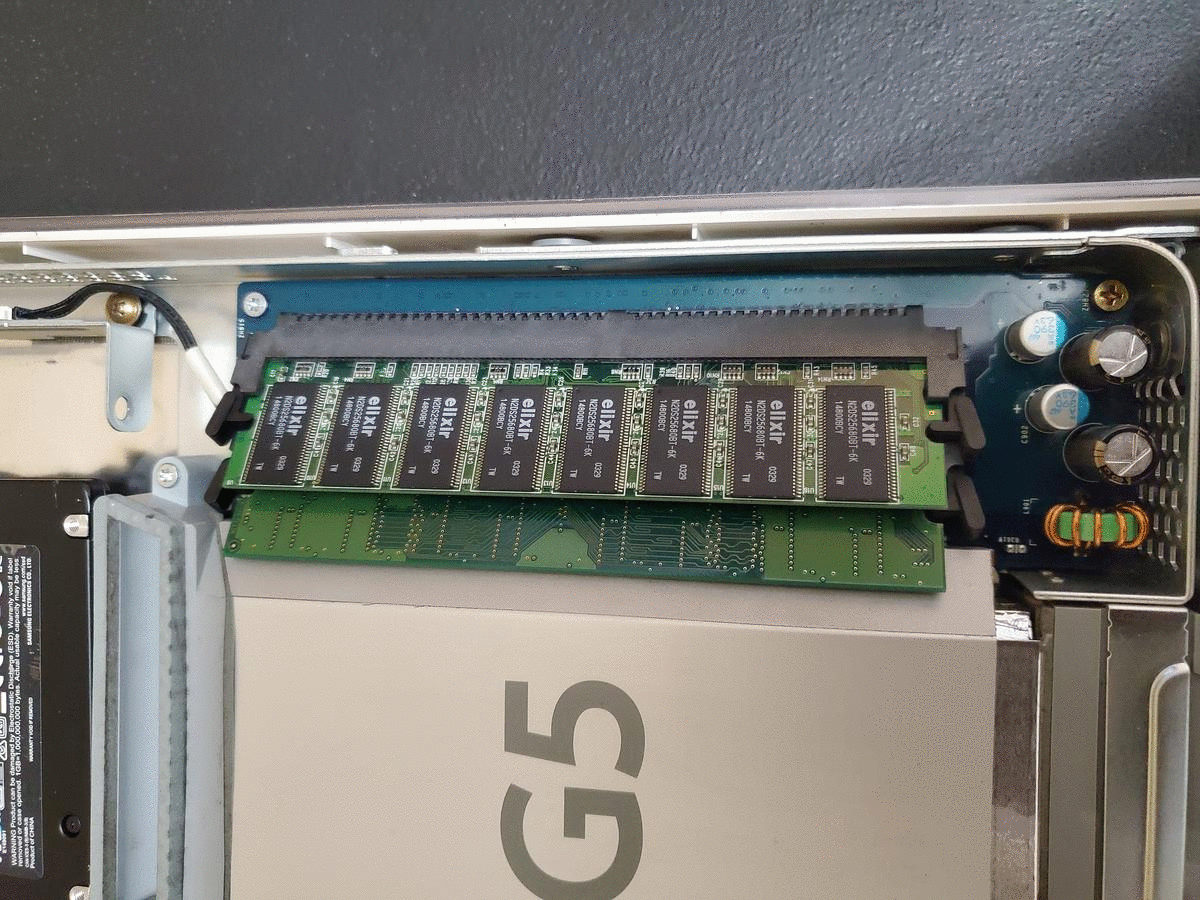
5. Next, remove both sticks of RAM by unlocking the locks and pulling them straight out
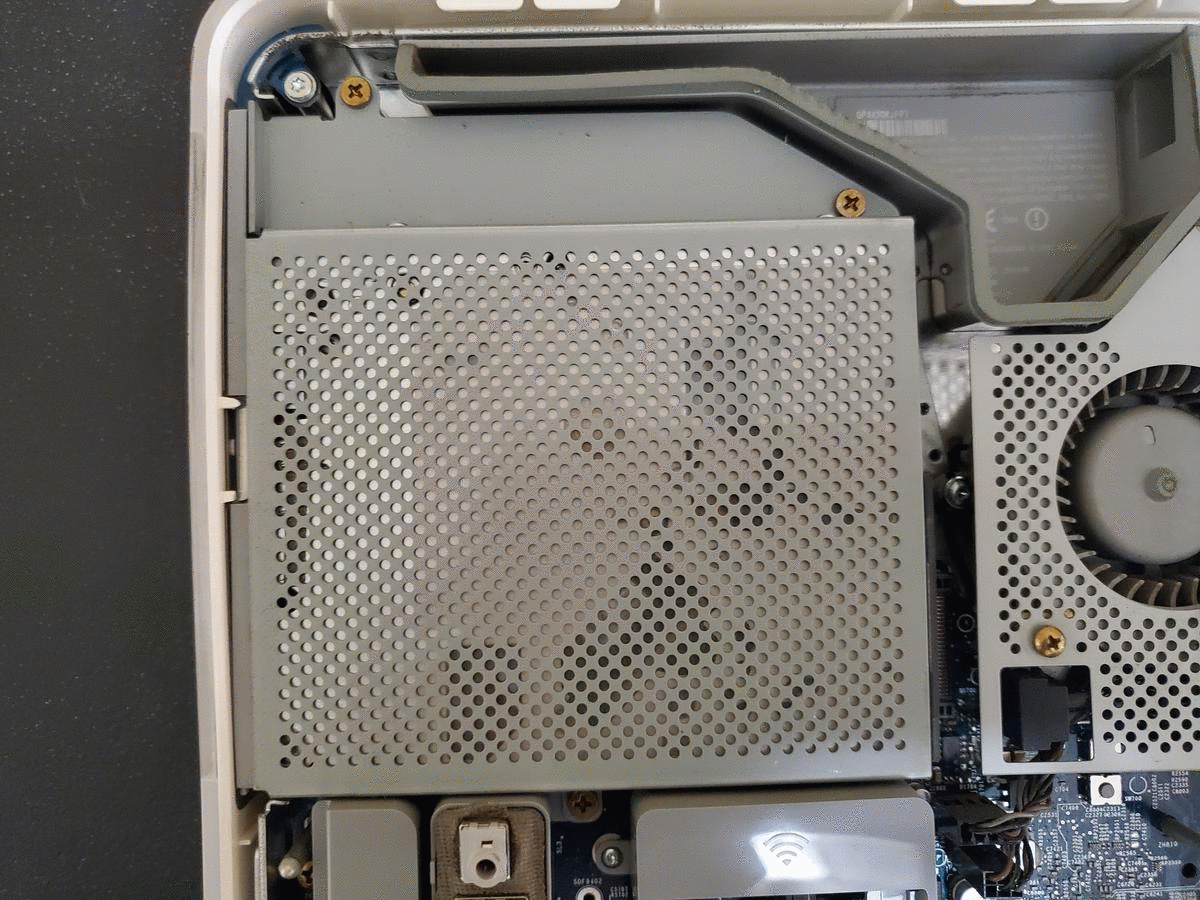
6. Remove the three Philips head screws holding down the optical drive
7. Pull up and out to remove the optical drive
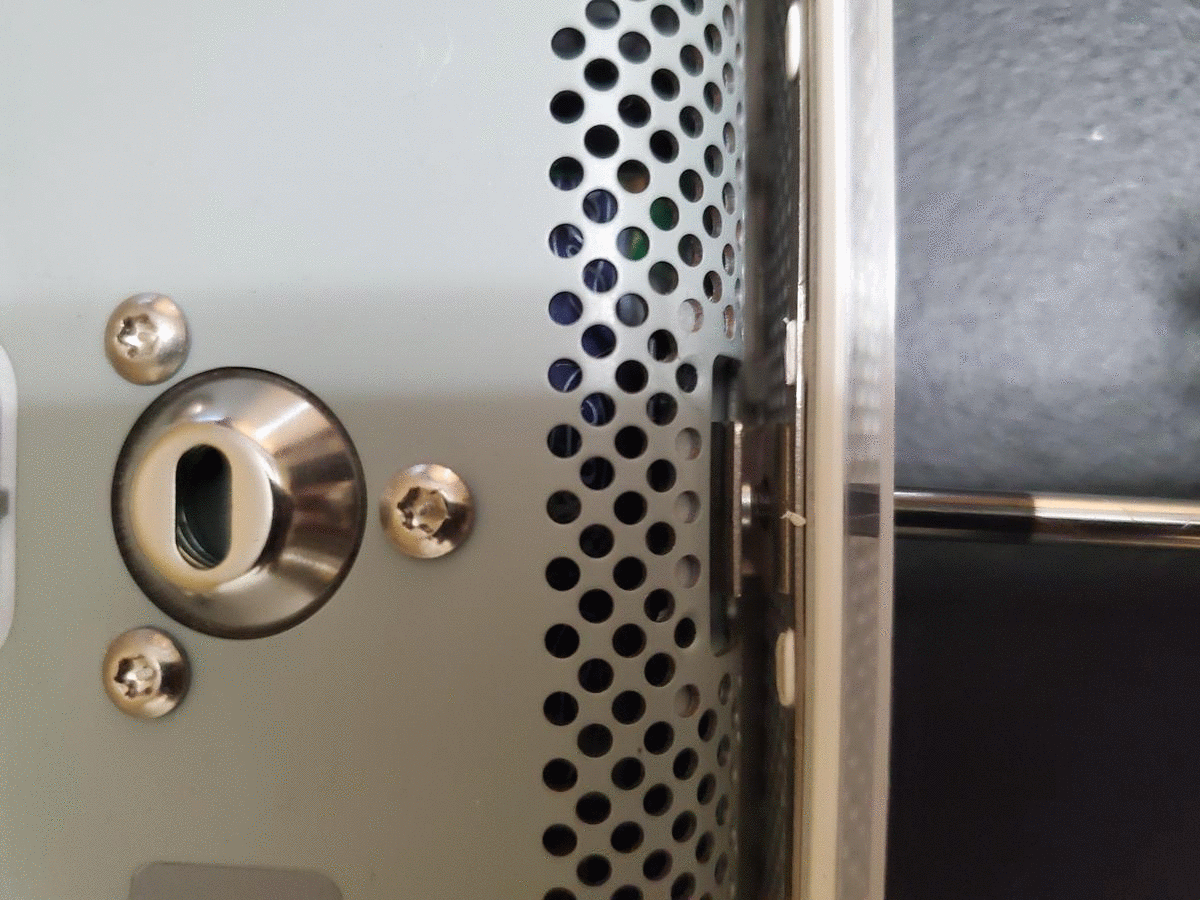
8. Turn the middle bottom screw clockwise to free the power supply
9. Remove the three screws along the top of the power supply
10. Pull the PSU up and out, and remove the logic board power connector
NOTE: IT MAY TAKE A LOT OF FORCE TO REMOVE THE POWER SUPPLY, BUT TAKE CARE TO NOT DAMAGE ANY OF THE NEARBY CAPACITORS ON THE LOGIC BOARD
11. Disconnect the HDD thermal sensor cable from the sensor board
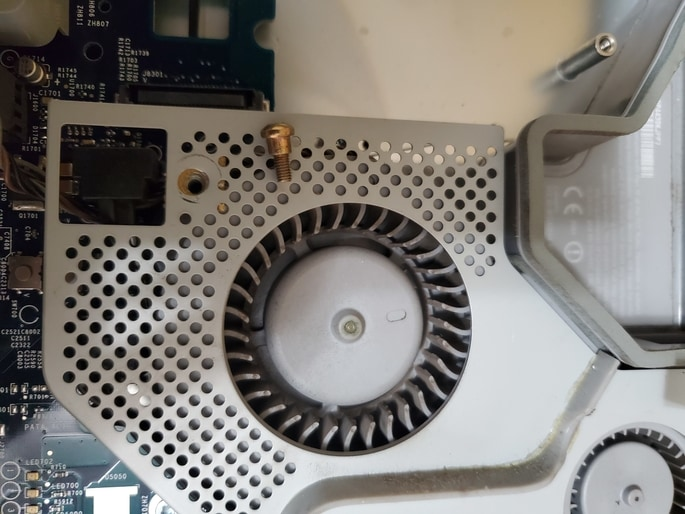
12. Remove the two screws holding in the fan duct

13. Remove the two screws holding down the fan cover and lift it out
14. Remove the two screws holding down the display cable and disconnect it from the board
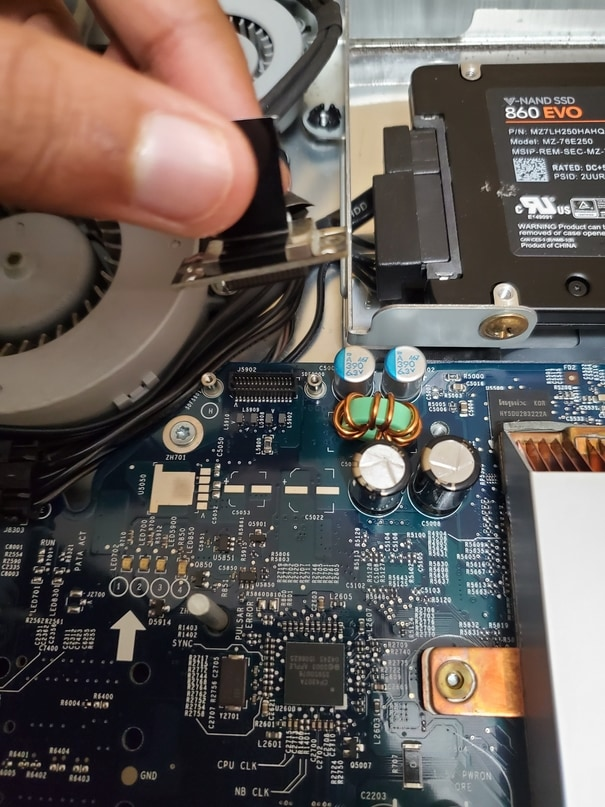
15. Disconnect the SATA power and data cables from the logic board
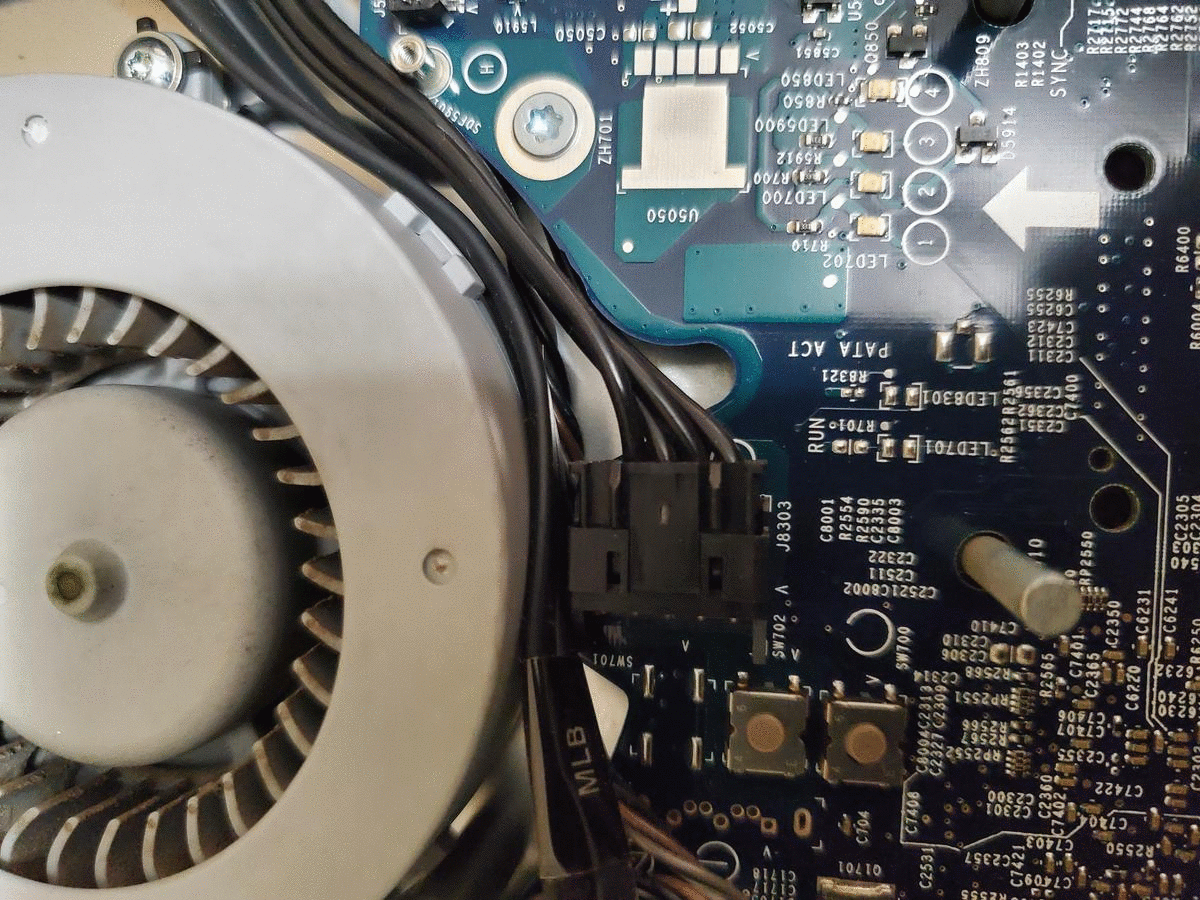
16. Disconnect the two fan connectors
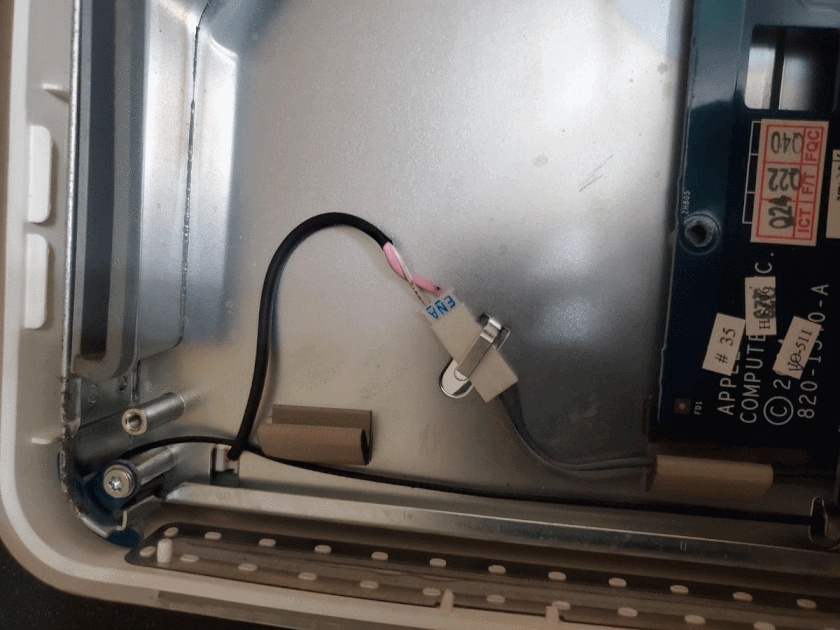
17. Slide out and disconnect the inverter to display cable
18. Remove the screw holding the inverter in place
19. Pull straight upward to remove the inverter, and disconnect its cable from the logic board
20. Remove the lower fan and speaker connectors by using a spudger to pull straight upwards
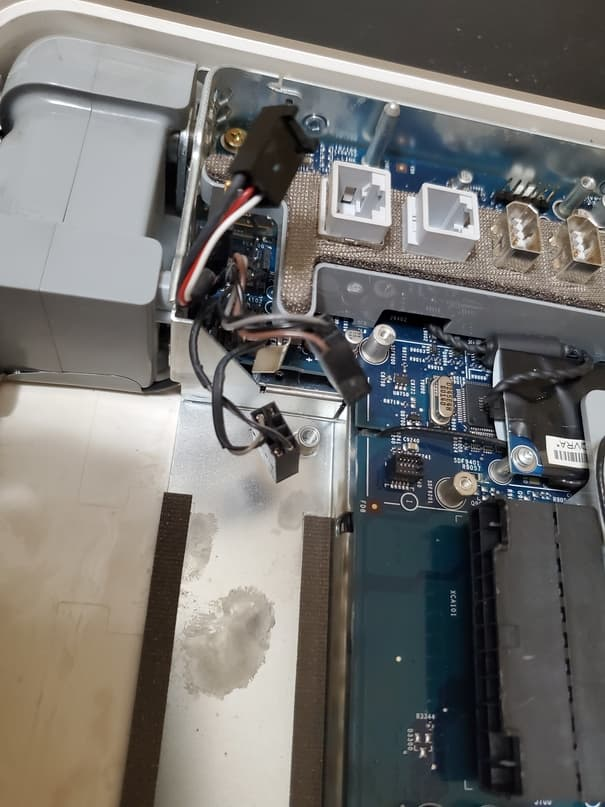
21. If you have an airport card installed, pull up on the tab and remove it
22. Remove the Torx screws on either side of the airport slot to access the modem card
23. Remove the two T6 Torx screws holding in the modem, and pull straight up to remove it
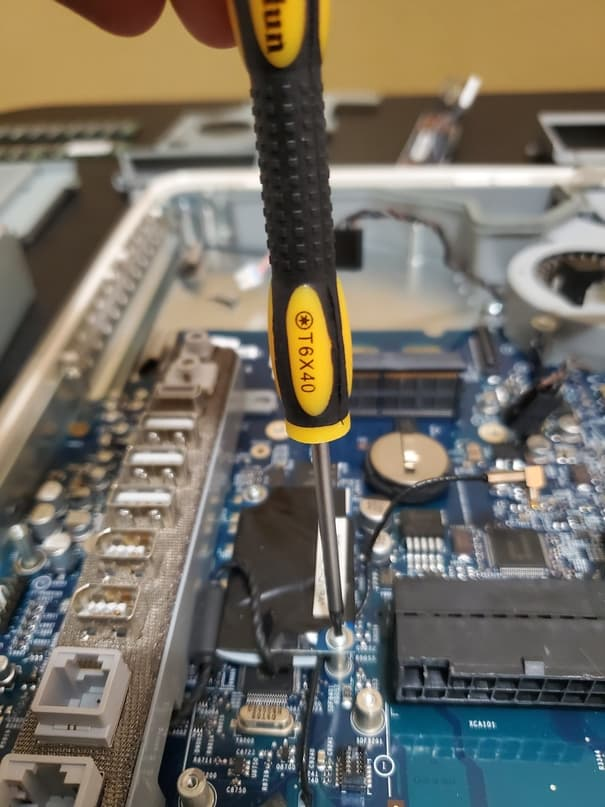
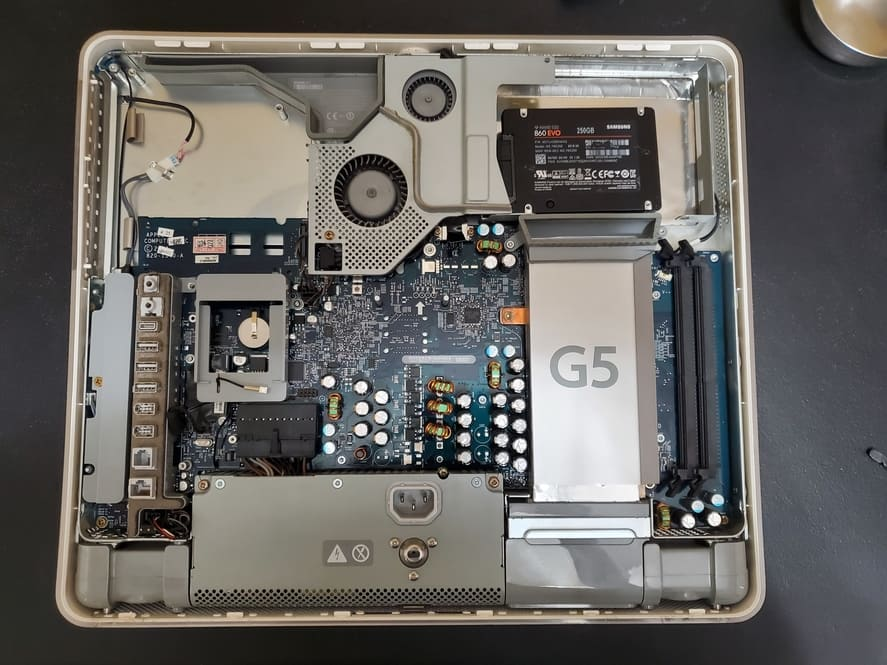
24. Now, remove the 6 T10 Torx screws and 3 Philips head screws to remove the logic board
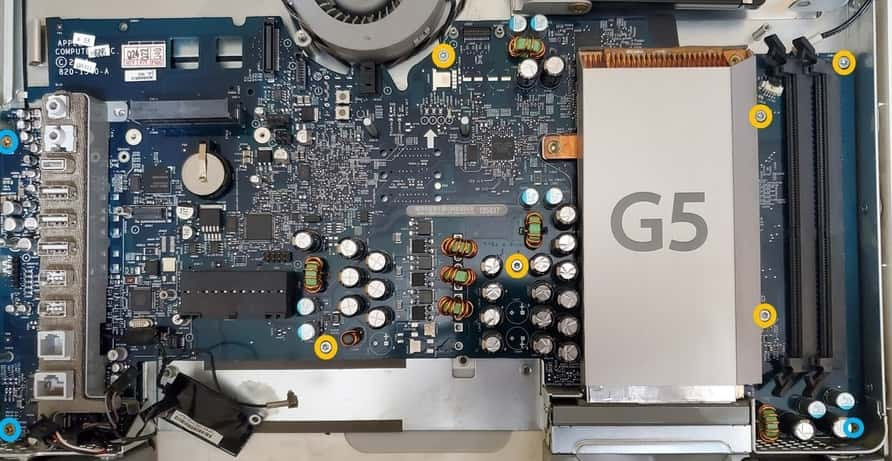
25. Pull straight upward to remove the logic board
26. Set it down gently so you don't damage any components
27. While the board is out, clean the heatsink and blow out any dust to improve cooling
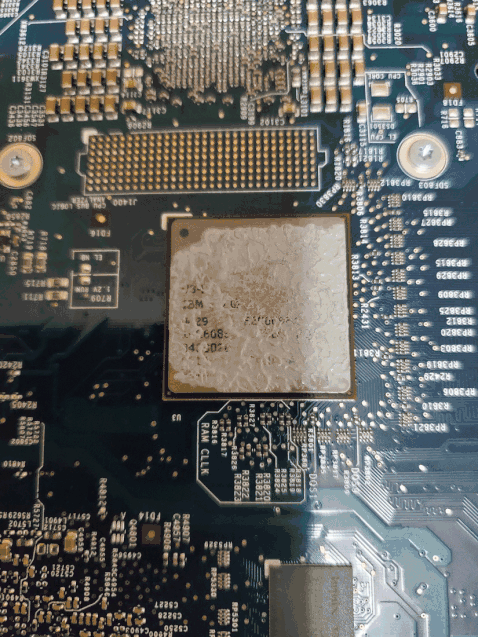
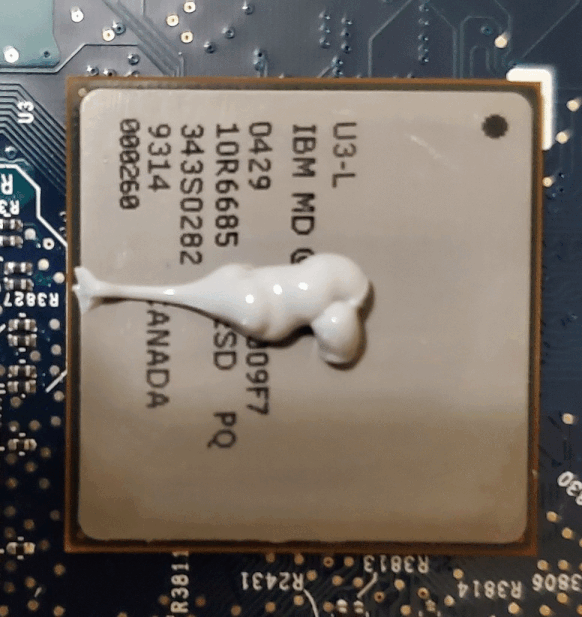
28. Turn over the logic board and clean the old thermal paste off the CPU using isopropyl alcohol and a q-tip/paper towel
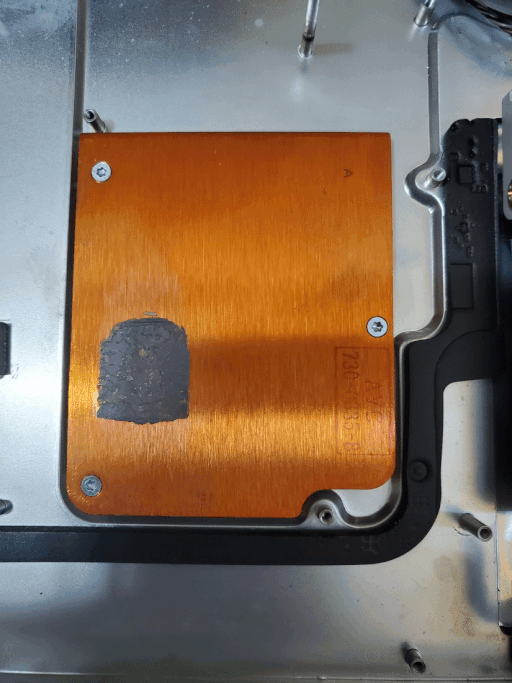
29. Now clean off the residue from the heatsink on the front assembly of the iMac
30. After cleaning off the paste, apply a glob of paste to the CPU and spread it evenly
Reassembly
31. Replace the logic board in the case, making sure to line up the attachment points
32. Screw in the 6 T10 Torx and 3 Philips screws that hold in the board
33. Replace the modem card and screw it in
34. Replace the airport card holder and the airport card (if installed)
35. Push the lower fan, speaker, and mic cables back into the board
36. Attach the inverter cable to the logic board, and reseat the inverter
37. Screw in the Philips screw holding in the inverter and re-attach the inverter-to-display cable
38. Connect the SATA data and power cables to the board
39. Connect the upper fan connectors to the board
40. Reseat the display cable and screw in the two screws holding it in
41. Re-position the fan shroud/cover and screw in the two screws
42. Screw in the two screws holding the fan duct to the heatsink
43. Use a spudger to push the HDD thermal sensor cable back in
44. Replace the power supply into the case
You may have to pull the bottom of the case so you can fit the PSU
It also may take a while to replace the PSU, so be patient and careful with the components nearby
45. Screw in the PSU screws, and turn the middle bottom case screw counter-clockwise to lock it in place
46. Replace the optical drive by pushing the white alignment things into the case and then pushing the back of the drive onto its connector. It may require a bit of force to attach the drive to the connector
47. Screw in the three Philips screws holding in the drive
48. Push in both sticks of RAM until the locks click into place
49. Align the back cover and reseat it onto the case
50. Screw in the two outermost screws on the bottom case until they no longer turn
51. Make sure everything is secure and stand the iMac back up
52. Great! You're done re-applying thermal paste on your iMac G5
Results
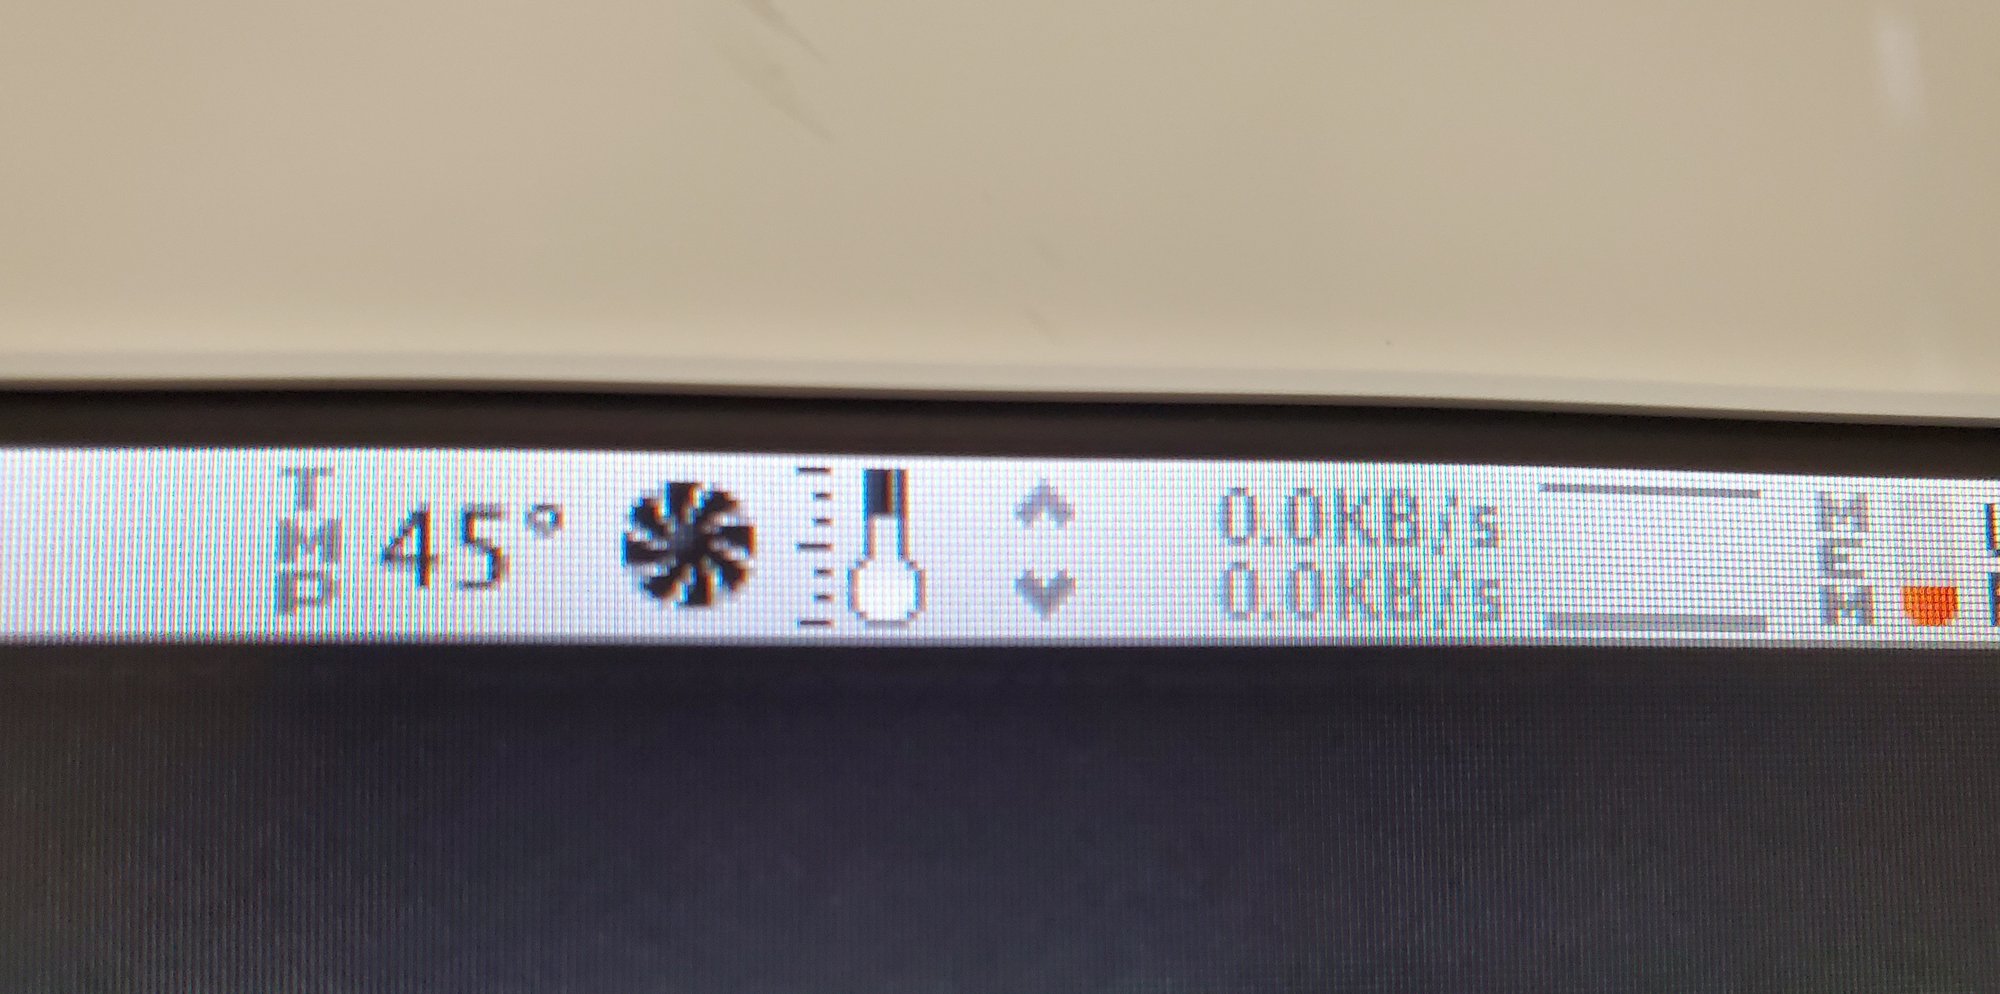
After re-applying the thermal paste and thoroughly cleaning out the fans/heatsinks, I was able to reduce idle temps from ~50 to ~45 degrees Celsius. Under load, the effect was even more profound: temperatures were reduced from ~75 to ~60 degrees. The fans weren't as loud, and didn't kick in as often. During simple text editing and simple terminal work, the system was completely quiet. During tasks like heavy web browsing, watching DVDs, etc, the system was a lot more usable due to lower temps. If you own an iMac G5 and you've never changed the thermal paste, I highly recommend that you do this. It's a fairly straightforward process that yields great results. If you want more posts and/or videos on the iMac G5, make sure to comment down below. Thanks for reading!